Shiplap Siding Installation Services Overview
Visitors will learn about Shiplap siding installation services and how to compare local contractors who handle this work.
- - Homeowners seeking to enhance their property's exterior with stylish and durable shiplap siding.
- - Property managers or landlords looking for reliable local contractors to install shiplap siding on multiple units.
- - Commercial property owners wanting to improve building aesthetics with professional shiplap siding installation services.

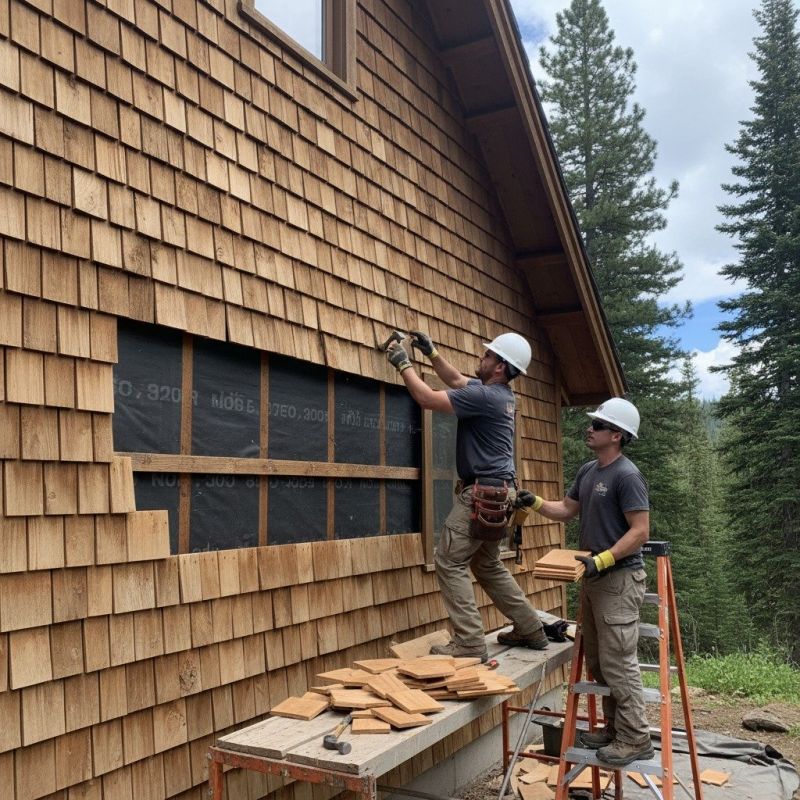
Shiplap siding installation is a popular choice for enhancing the exterior appearance of homes, offering a classic and textured look. Property owners seeking this service often look for experienced local contractors who specialize in siding installation. These professionals handle tasks such as measuring, cutting, and securing the shiplap planks to ensure a durable and visually appealing result. Homeowners can expect local service providers to assess their property's specific needs and recommend appropriate materials and styles to achieve the desired aesthetic.
Connecting with local pros for shiplap siding installation provides access to skilled contractors familiar with regional building standards and best practices. Whether updating a single wall or renovating an entire exterior, these service providers bring practical expertise to the job. They typically manage the entire installation process, helping property owners navigate choices and ensuring the project aligns with their property's unique features. This approach simplifies the process of finding reliable local contractors capable of delivering quality siding work.
This guide provides helpful information to understand the basics of shiplap siding installation and what to consider when planning a project. It assists in comparing local contractors and service providers to find the right fit for specific needs. By outlining key factors, the guide helps visitors prepare to discuss their project details with trusted local professionals.